Analysis of bearing gear machining process
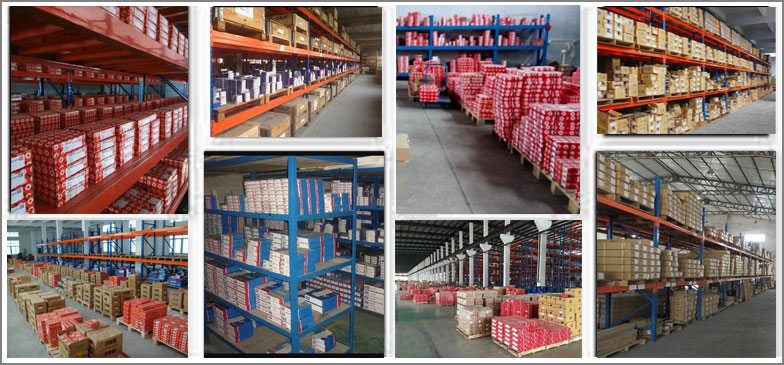
We can provide free samples . Please contact Email for any inquiries
1, the choice of the benchmark
For gear machining datum choice because of gear shape differences. Shaft gear using a vertex positioning holes; the hollow shaft, the center hole is drilled, with an inclined plane positioning ends orifice; aperture is the cone. Vertex positioning precision is high, and can be reference points and unity. With a hole in the tooth surface of gear machining often adopts the following two kinds of positioning, clamping way.
(1) within the hole and end face positioning the positioning is based on the inner hole of the workpiece positioning, determine the position, to face as the axial positioning reference, and at the end of the clamping. This can make the locating datum, the design reference, assembly reference and measurement datum coincidence, high positioning accuracy, and is suitable for mass production. But for the manufacturing precision fixture requirements higher.
(2) outside the circle and end location when the workpiece and aggravate the mandrel clearance is large, the dial gauge calibration to determine the position of the center of the outer circle, and axial positioning to end, from the other end face clamping. The location for each workpiece must be corrected, so productivity is low; at the same time, gear blanks, cylindrical coaxial requirement is high, and demand is not high on the precision of the fixture, it is suitable for one-piece, small batch production.
To sum up, in order to reduce the positioning error, improve the accuracy of gear machining, shall meet the following requirements during processing:
1) should be positioning mode choice datum coincidence, unified;
2) hole location, with the gap should be nearly may reduce;
3) the positioning end and the positioning hole or outer circle should be in one clamping processing, to ensure the verticality requirement.
2, the processing of gear blank
The gear blank processing tooth surface before processing, plays a very important role in the whole process of gear manufacturing. Because the tooth surface machining and detection of the reference must be processed at this stage, at the same time processing gear blanks accounted for a larger proportion of working hours, in terms of productivity, or from the quality assurance process of gear, must pay attention to the processing of gear blank.
